I expected to fail when I first started looking for bread recipes that didn’t require a stand mixer. Every online tutorial seemed to feature a pricey machine doing all the heavy lifting. People baked bread with their bare hands for centuries before those appliances existed. Your hands work perfectly fine.
I spent the last three years covered in flour in my tiny apartment kitchen. The recipes below are the ones that actually succeeded on my very first try.
1. No-Knead Dutch Oven Bread
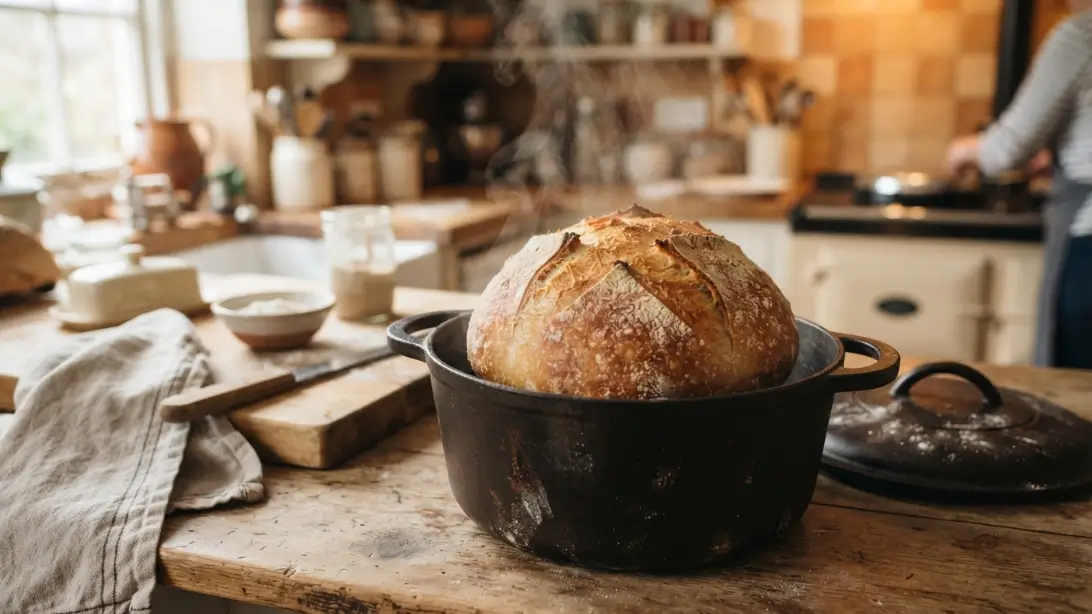
Jim Lahey’s famous no-knead method started my whole baking obsession. It takes barely any effort. You just toss flour, salt, yeast, and water into a bowl. Mix it up. That is literally the entire prep process.
Time does the hard work for you. Let the dough sit covered on your counter for 12 to 18 hours. The gluten develops completely on its own overnight. Then you bake the dough in a preheated Dutch oven at 450°F. Trapped steam inside the pot builds a thick crust.
I have baked this specific loaf dozens of times without a single failure. Grab a cast iron pot like a standard Lodge model and start right here. You will love the results.
2. Simple Sandwich Bread
Commercial sandwich loaves taste like soft cardboard once you start baking your own. This version uses basic pantry staples like flour, butter, warm milk, and active dry yeast. You just combine everything in a large bowl. Dump it onto your counter. Knead it by hand for roughly ten minutes.
Manual kneading sounds like a chore. It actually becomes quite relaxing once you find a rhythm. Push the dough away with the heel of your palm. Fold it back over itself. Give it a quarter turn. Keep doing that until the texture changes from a sticky mess to a smooth ball.
Drop it into a greased bowl to rise for an hour. Shape the dough to fit a standard 9×5 pan. Let it rise one more time before baking at 375°F for half an hour. The smell filling your kitchen will ruin grocery store bread for you forever.
Foolproof Bread Recipes for Beginners Without a Stand Mixer: Flatbreads and Quick Options
Yeast and rising times are not mandatory for a good carb fix. A few of my most heavily used recipes skip the yeast entirely. I turn to these quick options on busy weeknights. They put fresh bread on the dinner table in less than half an hour.
Skillet Flatbread
Grab two cups of flour and a cup of plain Greek yogurt. Add a pinch of salt and a little baking powder. Mix the dough together. Divide it into small balls. Roll each piece flat and toss it into a hot skillet for two minutes per side.
The heat makes them puff right up. I like brushing the hot bread with melted garlic butter immediately after cooking. My family usually eats them all before I finish making the actual dinner. You can also just use self-rising flour to save a step.
Beer Bread
Beer bread feels like a cheat code for baking. You only need self-rising flour, sugar, and a standard can of beer. Stir the batter. Pour it into a greased pan. Bake the whole thing at 375°F for 45 minutes. The carbonation and yeast in the beer do all the rising work for you.
I have tested this with cheap lagers and dark stouts. Every style of beer changes the final flavor profile slightly. A honey wheat ale tastes the best to me. A basic can of light beer works just as well if that is all you have in the fridge.
3. Focaccia
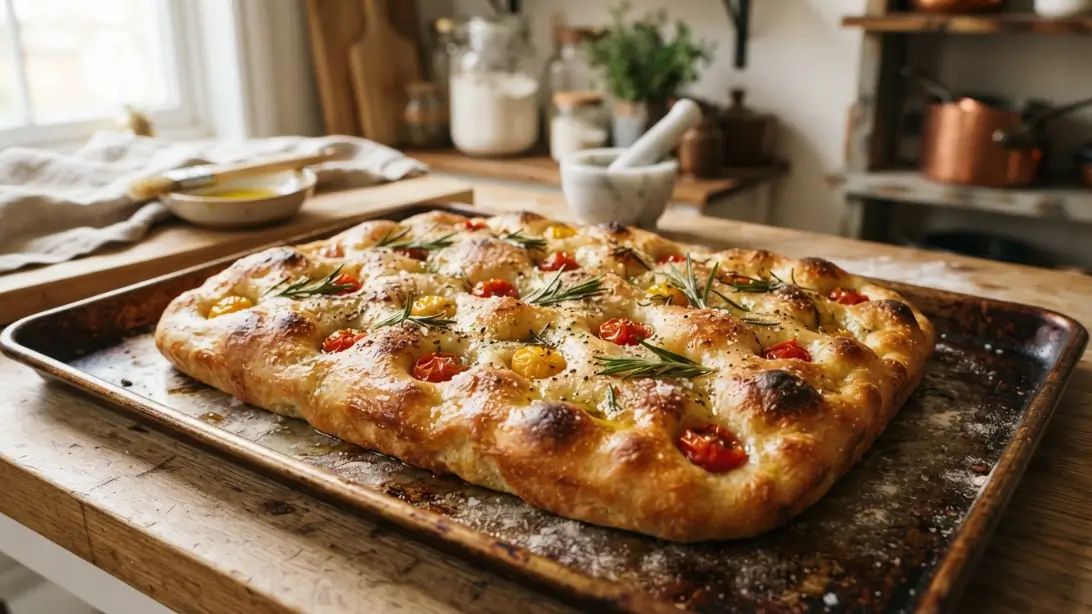
Focaccia makes you look like an expert baker. The dough stays very wet and sticky throughout the process. Traditional kneading is completely unnecessary here. You grab the edges of the dough and fold it over itself a few times right in the bowl. Let it rise for a few hours. Dump the bubbly mass straight into a heavily oiled baking sheet.
The fun part comes right before baking. Press your fingers deep into the dough to create little dimples. Pour a generous amount of olive oil over the surface. Add your favorite toppings. Flaky sea salt and fresh rosemary are my default choices. Sliced red onions or halved cherry tomatoes work great too.
Put it in a 425°F oven for twenty minutes. The top turns a nice golden brown while the bottom fries in the olive oil. This creates a very satisfying crunch. I suggest this specific recipe to anyone terrified of working with yeast.
4. Honey Oat Bread
A honey oat loaf hits the spot when you want a heavier slice for sandwiches. It combines regular flour with old-fashioned rolled oats. A spoonful of honey adds sweetness. A small piece of butter keeps the crumb soft. Those oats create a slightly chewy texture that makes excellent morning toast.
Start by soaking your oats in boiling water. Let the mixture cool down to a lukewarm temperature before mixing in your yeast. Boiling the oats softens them up. They blend smoothly into the dough instead of feeling gritty in your teeth.
Let the dough rise in the bowl. Punch it down. Let it rise again in your loaf pan. The entire timeline is roughly two and a half hours. Most of that time involves ignoring the dough completely while it grows. I like to cut thick slices and cover them in salted butter.
5. Pita Bread
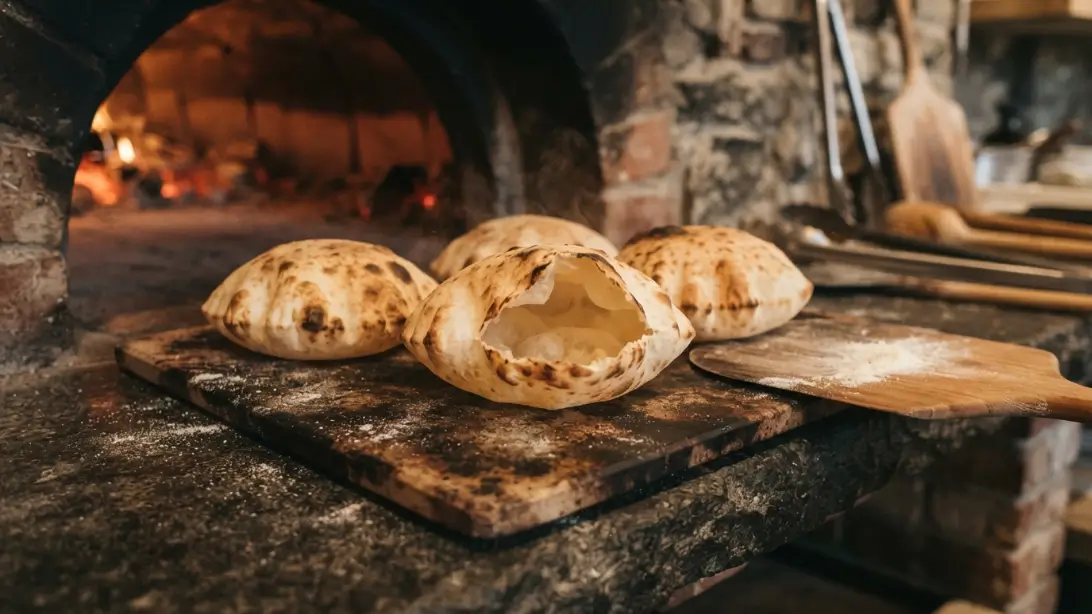
Watching homemade pita bread puff up in the oven is wild. You roll out small circles of dough. Throw them directly onto a very hot pizza stone or metal baking sheet. They inflate into hollow pockets in about three minutes flat. A 500°F oven creates steam inside the dough fast enough to push the layers apart.
You only need basic pantry ingredients for the dough itself. Knead the mixture by hand for a few minutes. Let it rest on the counter. Cut it into equal pieces. Roll every piece as thin as you can. Your oven needs to be as hot as possible for this to work.
Preheat your baking stone for at least twenty minutes before cooking. Some pieces of pita will stubbornly refuse to puff up. That happens to everyone. Flat ones still taste great dipped in hummus or brushed with olive oil.
6. Banana Bread
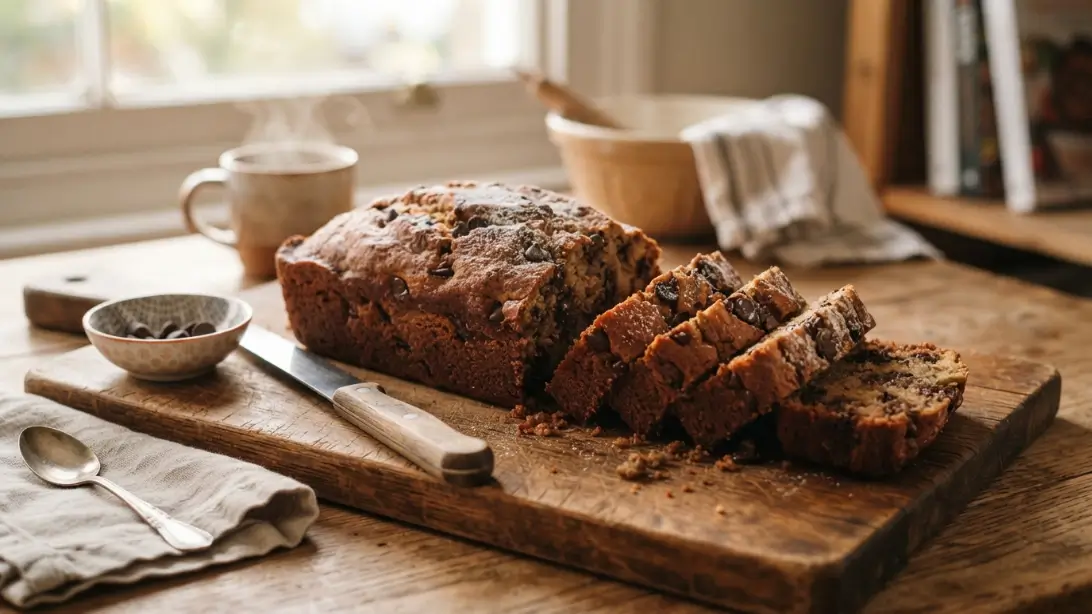
Baking purists love to argue that this is actually a cake. I just ignore them. Banana bread gets nervous cooks comfortable in the kitchen. The batter requires zero yeast and absolutely no rising time. Mash up your overripe bananas in a bowl. Pour in some sugar and a beaten egg. Mix in the melted butter. Fold your dry ingredients into the wet mixture gently.
Ugly bananas make the best loaves. Wait until they are covered in black spots and feel almost entirely mushy. Produce that looks ready for the trash can contains the highest sugar content. I usually dump a heavy handful of chocolate chips into my batter.
Set your oven to 350°F and bake the loaf for an hour. A toothpick poked into the center should come out clean. Leave the bread in the hot pan for ten minutes before trying to slice it. Cutting into it too early leaves you with a pile of hot crumbs on your cutting board.
7. Crusty French Bread

Baking a crispy French baguette seems like an impossible task for a home cook. It really just takes a bit of practice. The dough consists of flour, water, salt, and yeast. Mix the shaggy mess by hand. Knead it for a few minutes. Let the dough rise twice to build flavor. Shape it into long logs on a metal baking sheet dusted with coarse cornmeal.
Steam creates that classic thick crust. Put an empty metal pan on the bottom rack while your oven preheats. Pour a cup of very hot water into that pan the exact moment you slide your bread in. The resulting burst of steam keeps the dough surface flexible.
Bake everything at 450°F for twenty minutes. The loaves will develop a hard outer shell with a very soft center. These baguettes go stale extremely fast due to the lack of oil or butter in the dough. Plan on eating them the same day you bake them.
Tips That Helped Me the Most as a Beginner
Hand mixing dough taught me some harsh lessons early on. Here are the most helpful things I learned during my first year.
Buy a cheap digital kitchen scale. Measuring flour with measuring cups is highly inaccurate. The way you pack the flour into a cup changes the actual weight drastically. My loaves improved overnight once I started weighing my ingredients.
Pay attention to your water temperature. Yeast wakes up best in warm water hovering right around 105°F. Cold tap water keeps the yeast asleep. Boiling water kills it on contact. Use a basic meat thermometer to check your tap water before pouring it into your bowl.
Resist the urge to dump extra flour onto your counter. Wet dough scares a lot of new bakers. We tend to panic and add cups of dry flour to stop the stickiness. This mistake leads to heavy bricks of bread. Keep your hands slightly damp or lightly floured instead. The dough will eventually smooth out as you knead it.
Rising times in recipes are just estimates. A cold winter kitchen slows down yeast activity significantly. Do not try to rush the process by putting your bowl near a hot radiator. Find a draft-free spot and leave it alone. Turning on your interior oven light and resting the bowl inside provides a nice warm environment.
Frequently Asked Questions
Can I really make good bread without a stand mixer?
Yes. I tested all the recipes on this page using just my hands and a bowl. Expensive mixers offer convenience. They are definitely not mandatory equipment. Human hands developed gluten perfectly fine before wall outlets existed. You just spend a few extra minutes working the dough. Wet styles like focaccia bypass the kneading step entirely.
What’s the easiest foolproof bread recipe for a total beginner?
Start with the no-knead Dutch oven loaf. You mix flour and water before going to bed. The heavy cast iron pot traps steam during baking to form a thick crust. You avoid the messy kneading stage entirely. The final loaf resembles something from a corner bakery.
Do I need special flour to bake bread at home?
Standard unbleached all-purpose flour works fine for most basic recipes. Bread flour contains higher protein levels to create a chewier bite. I actually spent my entire first year using standard grocery store flour. The loaves tasted great. Buy the cheaper bags while you practice your technique.
How do I know when my bread is fully baked?
Checking the internal temperature removes the guesswork. A fully baked standard loaf hits around 190°F in the center. You can also knock on the bottom of the bread with your knuckles. A hollow thumping sound indicates the center is fully cooked. Judging by crust color alone often leads to gummy interiors.
Why did my bread turn out dense and heavy?
Heavy loaves usually stem from adding too much dry flour on the counter. Under-kneading the dough will also cause a tight crumb structure. Another major culprit is dead yeast. Your yeast mixture needs to bubble and foam actively in the bowl. Check the expiration date on your packets before starting a recipe.
Conclusion
Making dough by hand feels rewarding. It connects you to an old way of preparing food. Grab a bag of flour and try one of the beginner loaves this weekend. Your kitchen will smell fantastic.